FUNctional Switching is an approach to developing switch skills developed by Charlie Danger in collaboration with CENMAC and Kezia Hesketh at Ace Centre.
The focus of FUNctional Switching is the use of fun activities that encourage engagement with peers and family members while developing switch skills.
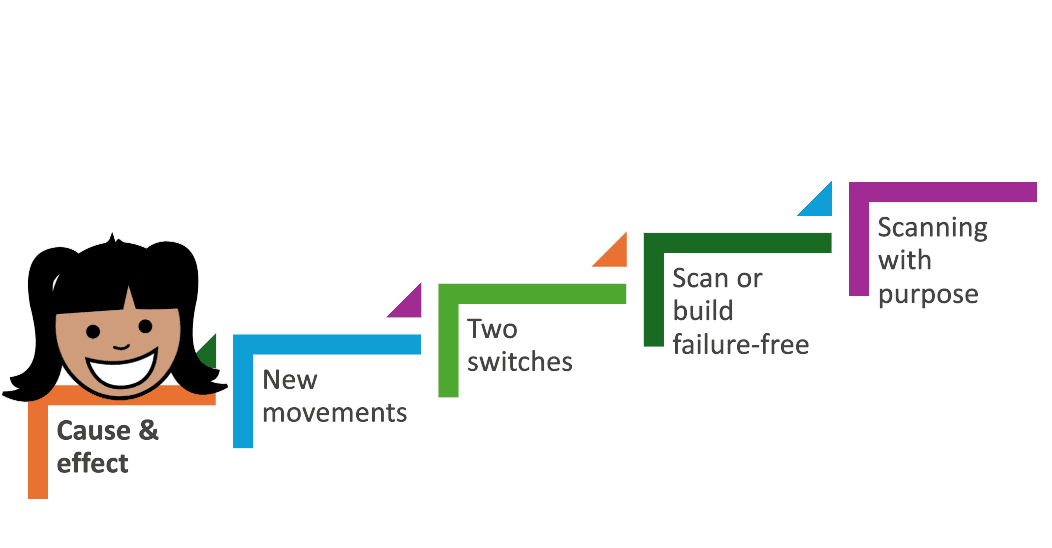
The five stages to FUNctional Switching are clear and easy to follow.
You can find acknowledgements and thanks at the bottom of this page.
Our gears analogy
Learning to use switches can be thought of like learning to drive a manual car. The early stages get you moving, but after that, the gears can be shifted around based on context and activity.
Our first gear is the important place to begin. Just like you can’t start driving without first gear, you can’t begin switch work without understanding cause and effect. This is the foundational skill that everything else builds on.
Gears 2 to 5 are all about refining and expanding switch use. You don’t always need to use them in order. Sometimes you cruise through all the gears in sequence; sometimes you skip straight to a higher gear, depending on the task and motivation. Other times, you might shift down for more control. Every gear has its place.
Why learn switches?
Switches are very useful for people with physical and/or intellectual difficulties. They can be used to:
- Play video games
- Interact with people
- Control the environment
- Provide independent mobility
- Control a communication aid
- Access education
Most people learn quickly to press a single switch for a single response (often referred to as “cause and effect”). Some require additional opportunities to learn.
Some of activities require understanding of scanning. This is the approach used to choose from many options when you can only press one or two switches. Scanning is needed to type any letter of the alphabet, or to select from a wide range of symbols on a communication aid.
The process of learning from simple cause-and-effect up to scanning is known as switch development.
The five steps of FUNctional Switching is our take on this process.
Before you begin
Get to know the person before you introduce your first switch. If possible spend some time with them while they engage in their preferred activities. If it’s a child then watch the parents or other people play with the child.
During this step you can observe some essential information such as:
- Sensory Skills (particularly vision and hearing)
- Physical Skills (for switches access points)
- Motivation (FUN and engagement are key to learning!)
First Gear – Cause & Effect
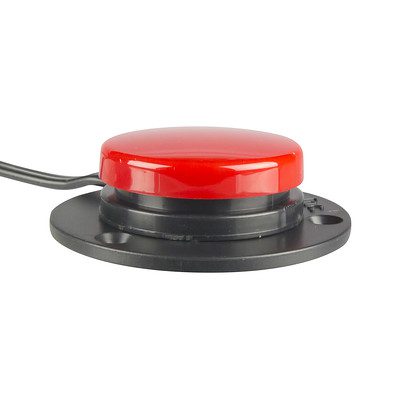
Understanding that the switch causes something to happen is an essential first step. Often learners already understand this idea in general, but haven’t connected it with switch use.
- Use movements the person already makes. Head movements are often a good place to start.
- Let them activate the switch accidentally at first. Ensure the response is instantaneous, short and motivating.
- Gradually encourage more intentional pressing. Try moving the switch slightly further away.
Avoid “swatting” by keeping switch use purposeful and avoiding over-prompting. See Tony Jones’ excellent TalkSense resources for more.
FUN Activities for First Gear
At this stage it is best to focus on very short, immediate rewards that are motivating for the individual. If they don’t attend or react then change the activity. If they quickly lose interest then you might be ready for second gear!
Use the button to:
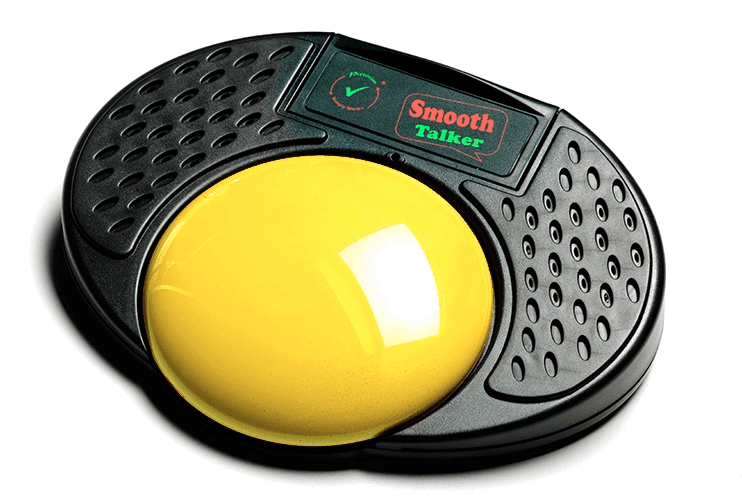
- Instruct someone to tickle or kiss the person (for four seconds) (e.g. a BIGMack or Smooth Talker)
- Turn on a fan, light or a vibrating therapy cushion (for four seconds) (e.g. using a Pretorian Twin SLAT)
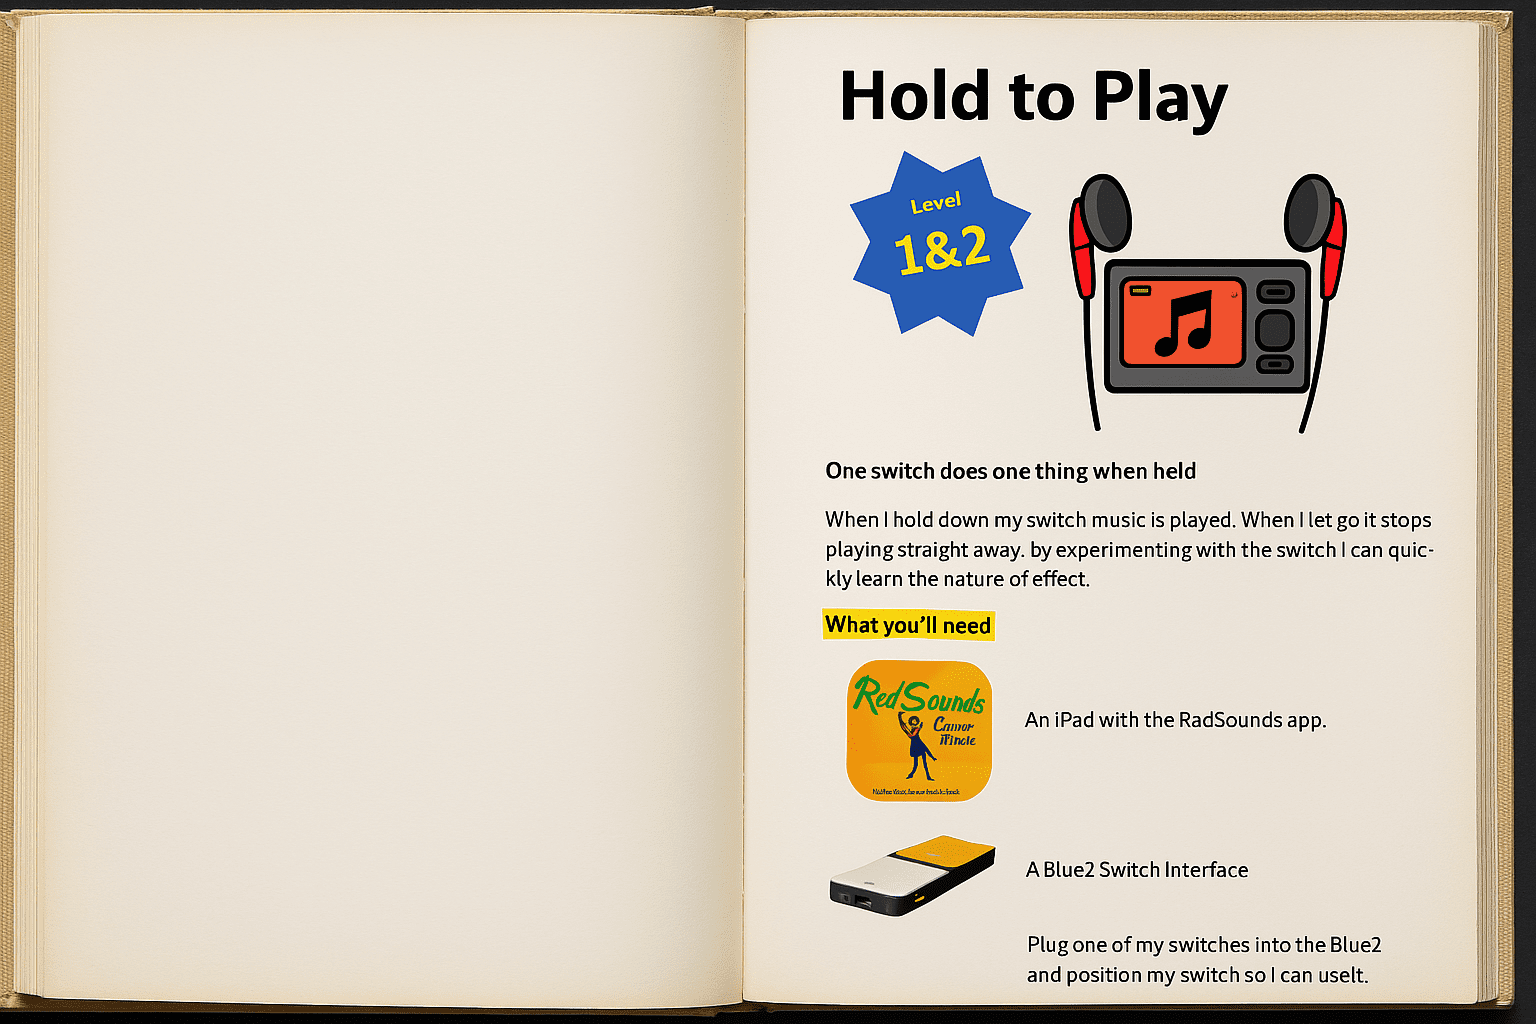
- Plays music while it is being held down, and then stops when it is released. You can do this using:
- An iPad app (RadSounds) that can play music while a switch it held, and pause when released.
- An AutoHotKey script in Microsoft Windows.
- Powered speakers plugged into an into an iClick
Second Gear – New Movements
Once the person understands that the switch does a load of really cool stuff they are likely to put some effort into learning new movements or using movements which which initially they might find difficult. Work around the person’s body to find at least two, if not more, movements that reliably activate the switch. It doesn’t matter too much if these seem clumsy or take a while to initiate – we’ll improve these later. Bring lots of activities and have lots of FUN.
FUN Activities for Second Gear
At this stage you can offer expand and lengthen the rewards to larger sections of songs, longer periods of tickling or simple video games. This might help with engagement!
Use your buttons to:
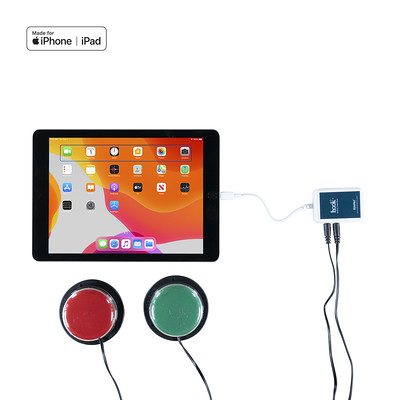
- Plays and pause songs (e.g. using a JoyCable interface with Switch Driver 6 to play and pause YouTube)
- Turns a fan on and off (e.g. using a Pretorian iClick)
- Play simple computer games (e.g. HelpKidzLearn)
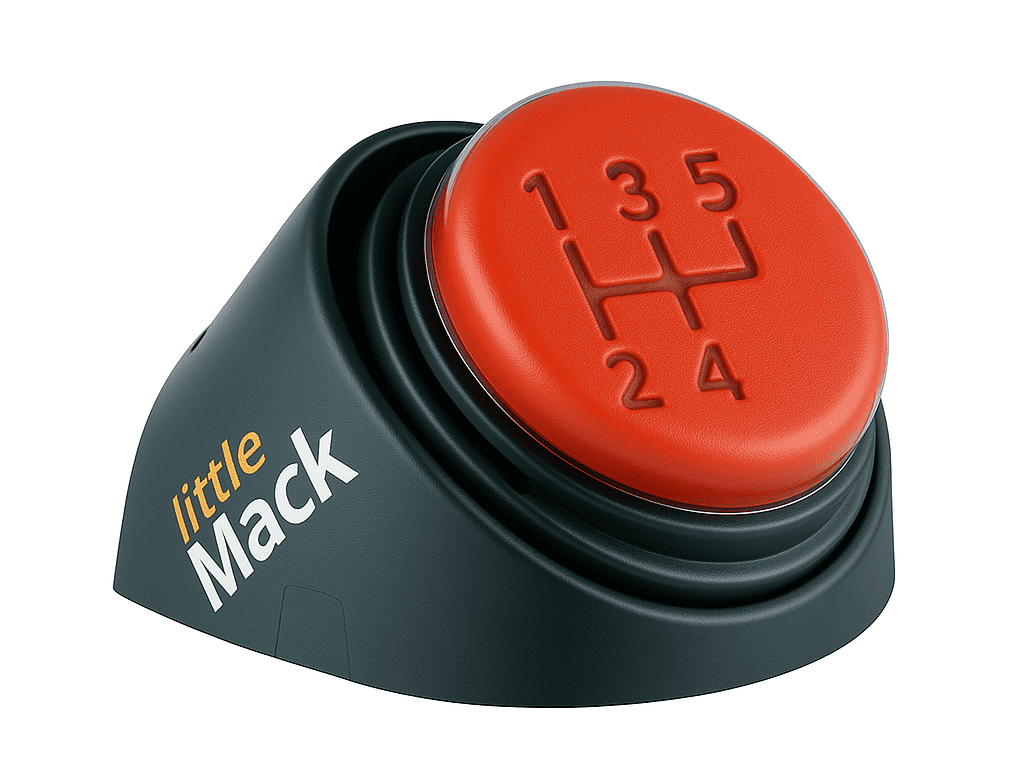
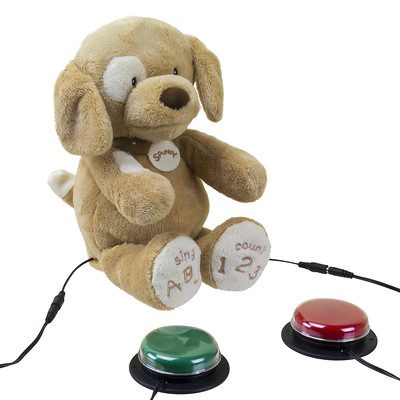
- Calls a dog to come over (e.g. LITTLEmack)
What makes for effective switch progress?
There are many things you can do help people move through the gears towards becoming a confident switch scanner. These include:
- Make it FUN and interesting. Involve people, create stories, play games.
- Avoid hand-over-hand or hand-under-hand support. If you’re doing this then the activity isn’t motivating or the switch is in the wrong place!
- Allow plenty of time, consistency and repetitions so that the person’s switch movements improve.
 A deep dive into switch development is coming soon from our colleagues at Ace Centre Learning.
Third Gear – Two Switches
Having two switches in two different parts of the body is a bit of a leap that requires coordination, problem solving, sequencing, making choices and a load of other skills. Fortunately, you can learn these skills through FUN activities.
Just remember at this stage the switches do two different things. When the person chooses a switch be sure that you react quickly.
FUN Activities for Third Gear
At this stage we want to give the young person an option of pressing one of two switches. There won’t necessarily be a ‘wrong’ answer – so let them explore and react accordingly.
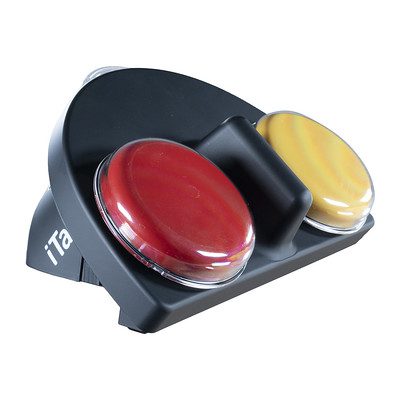
- One button that plays music and the second operates a disco light (you may need a Dual latch and timer).
- One button moves a wheelchair platform forward and the second reverses (e.g. Smile Smart Drivedeck)
- Lots of idea pm the inclusive switch activities (see the Inclusive website) and HelpKidzLearn
- One button instructs a dog to do one thing (such as sit) and the second button tells the dog to do another thing (such as play dead!)
What if I can’t use two switches?
Some people may find using two switches difficult due to limited movements or fatigue. In this case they may benefit from using a single switch instead.
We recommend that you only consider using a single switch once you are sure that two switches aren’t going to work. This is because activities are limited with a single switch, and although scanning is possible the need for timed activation is a major barrier for many people with complex bodies.
We are planning on adding a section on timing skills in the coming weeks. In the meantime you find our more on the Inclusive Technology website.
Fourth Gear – Build or Scan Failure Free
At this point the young person is motivated and coordinated to use two or more switches. It’s a good time to introduce the rather peculiar concept of scanning, which involves one switch interacting with the other. Scanning can be taught through error-less activities as it can be a bit confusing at first.
FUN Activities for Fourth Gear
At first it may be difficult to understand that one switch affects the other. That’s why big, obvious cues are needed to confirm this and short scan ranges.
- Have three people sit in a line. One talking button says “next person” and the next stands and the previous sits. The second talking buttons says “dance” and that person currently standing dances. (e.g. LittleMack)
- Build a tower on a computer with one button and knock it down with the other (e.g. Switch Skills for Two set 2). You can also replicate this in the real world using a talking button (e.g. Smooth Talker).
- Use a switch-accessible joke box to play your favourite jokes (e.g. GoTalk Now Lite
Fifth Gear – Scanning with Purpose
By providing scanning we are providing choice, and we’re able to interpret that choice as an intentional and meaningful way to communicate. Playing computer games that involve scanning to particular cells to ‘win’ is a good start, as is beginning to interact differently to utterances from the communication aid. At this point we assume that if someone scans on the communication aid and says something – they mean it and we act accordingly.
FUN Activities for Fifth Gear
- Switch-accessible YouTube that forces you to select the “activation” to play the video (e.g. Special Bites)
- Put words together and build sentences using a switch-accessible literacy app (e.g. Clicker)
- Assemble symbols and speak sentences using a communication aid app (e.g. CBoard)
- Switch-accessible YouTube that allows you to navigate the video using switches (e.g. Tar Heel Game Play)
More Resources
- CENMAC Activity Book
- Stepping Stones to Switch Access by Linda Burkhart
- Jiao.Life – Seven Stages of Switch Development (by Luke Thompson)
- Indigo Unlocking Abilities – Switch Resources
- TalkSense Switching to Success (Tony Jones)
- Judy Lynn Software, Inc.
- HelpKidzLearn (from Inclusive Technology)
- Pace Centre My Way
- Inclusive Technology
- Steps Before Step Scanning 2.5 – Mind Express by Jabbla (by Linda Burkhart and Flo Quinn)
- OneSwitch (by Barrie Ellis)
- TarHeel Gameplay
- SpecialBites
Acknowledgement and Thanks
This work builds on the successful strategies developed by Linda Burkhart, Judy King, Tony Jones, Ian Bean and Michelle Lange.
The model was inspired by the teachers and therapists supported while I was working in Qatar. Thanks go out to the staff at Mada and Hamad Medical Corporation for their feedback and frequent reminders to keep it simple.
Thanks also goes to Will Wade and Alli Gaskin at Ace Centre for their encouragement and support, and particularly to Alli for providing the name FUNctional Switching.
